DIY Chair Yoga

According to a study done in 2013, we spend up to 13 hours a day siting. This can lead to many negative health effects such as high blood pressure, blood sugar and cholesterol, and obesity.

Recently, a new yoga practice has emerged to help combat these adverse consequences. It is called chair yoga, and it can easily be done from your home or at your desk at work.

Chair yoga has proven to be extremely successful for senior citizens, but can be used by anyone of any age that feels they are causing stress to their body by sitting too long at work.

It’s nice to learn small ways to fell less guilty about sitting on our butts all day at work. Here are five poses that I have found to be easy, fun, and beneficial.

Chair Forward Bend

All you need to do for this pose is lift your hands above your head and fold the top half of your body over your lower half. This pose works to stretch and strengthen your back muscles. I can help to open up your shoulders, and provide a release of stress from your neck area if you are feeling stiff.

Chair Extended Side Angle

Reach your arms up and turn 45 degrees. Then reach down with one hand and touch the floor. This pose focuses on opening up the chest and shoulders. Many people find this pose to be difficult while standing because it requires a lot of balance, but sitting in the chair removes that challenging factor.

Chair Spinal Twist

This one is my personal favorite. It works best if you are sitting in a non-swivel chair that cannot move. Grab the back of your chair with your opposite hand and rotate your back while keeping your butt planted in place on the chair. This pose expands your vertebral agility and can encourage digestion.

Half-moon Pose left/right

These poses are fairly easy. You begin by raising your arms above your head and clasping your hands together. Lean towards each side and make sure to keep your arms straight. This pose stretches your arms and back.


Interested in even more chair yoga poses? Most of the time, a regular yoga pose can be done in a chair without having to change much about the original pose. Try to do a basic cat and cow pose, garland pose, and hero pose.

If you are looking for other ways to combat the damaging and destructive repercussions that come along with sitting all day try to incorporate a few of these things into your daily life:

  • Adjust the height of your hair. Make sure that your chair is close enough to your desk that you aren’t straining you muscles, and that it is not too high up and you are not crouching over your desk.
  • Go on a walk during your lunch break. Pack food you can eat on the go and when your lunch break comes around, go outside and walk while you eat.
  • Use a seat cushion for either your back or butt.

Good luck and Namaste!
 

DIY Yoga Towel

Popping up all over the internet is this hot new product called yoga towels. Yoga towels are smaller cotton towels that are used on top of your yoga mat to prevent slipping and sliding during your practice.

These towels are meant to be absorbent, lightweight, and supportive. These are not just average beach or bath towels, and they can cost upwards of $30. Luckily, yoga towels are can be fashioned with just a few household materials and a little crafting.

First you need to gather your materials. You are going to need:

  • Bleach
  • A large towel
  • A hot glue gun
  • Glue sticks for the glue gun
  • Scissors

Since yoga towels are meant to be thin, you need to wash the towel with bleach. This will matt down the fibers in the towel and make it almost paper thin. Make sure you are using an older towel that you do not care about because it is going to get covered in bleach stains.

Get creative if you want to by purchasing or creating a bleach pen to draw out an intricate design.

Dry your towel. Lay it on top of your yoga matt and cut the edges to make it the correct size. It’s okay if it is slightly smaller than your yoga mat, just make sure it is not larger. Next pick up the towel.

Lay out the towel face down on a flat surface.

Plug in your glue gun. Make sure you have around twenty or so sticks of glue to use, because you are going to need a lot.

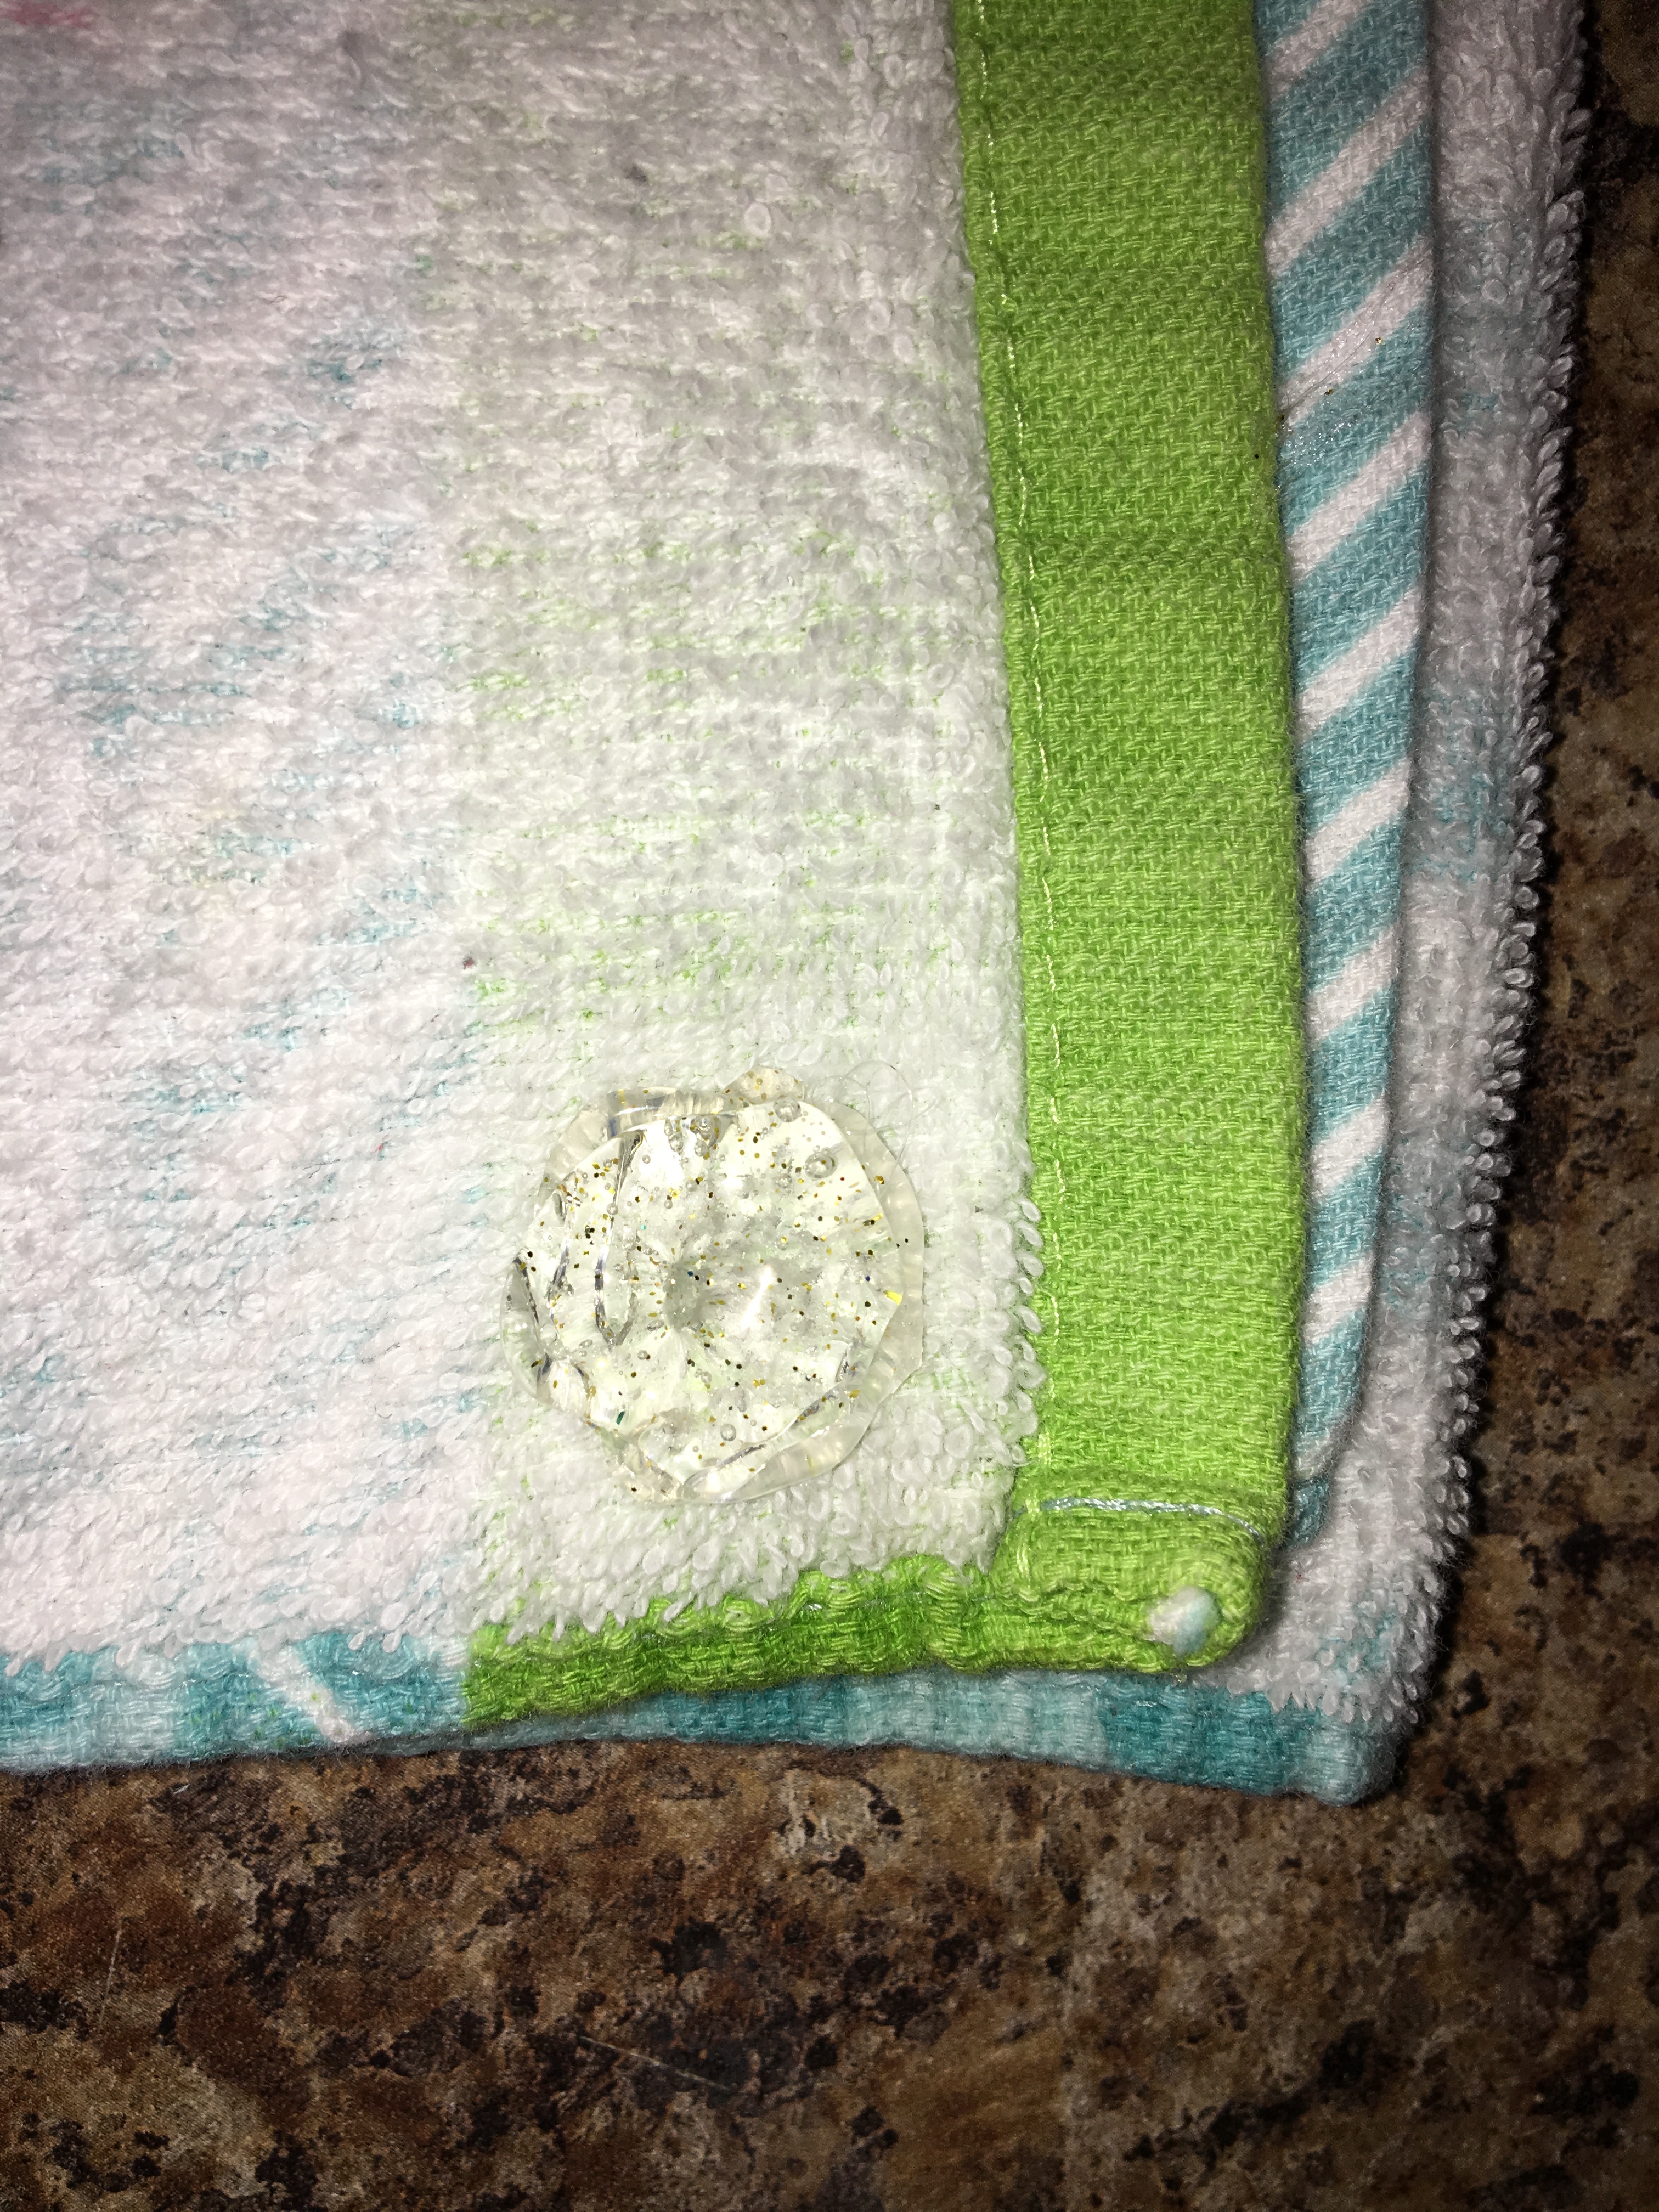
Starting at the top corner, create small, quarter sized glue circles with the hot glue about three inches apart from each other. It should look like this:

IMG-6834.JPG

Go row by row until the entire towel is covered with small, round, flat circles of glue. Try to get about four or five circles per row, and make sure you are going all the way down to the bottom. It should start to look a little like this:

IMG-6835.JPG

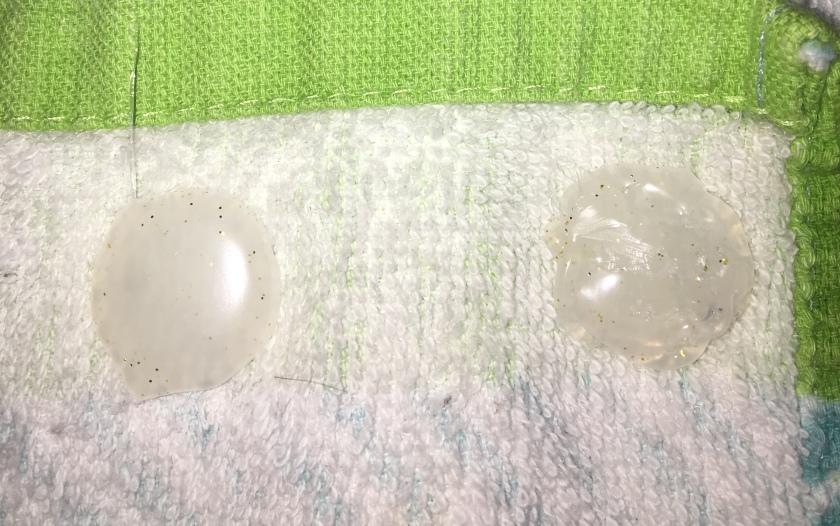
Let the glue dry completely before picking the towel up off the ground. I recommend letting it sit for at least an hour just to make sure. The circles should no longer be translucent and look like this:

IMG-6840

Test out your towel by placing it on top of your yoga mat. It should now be non-slip.

When washing your new yoga towel be very careful. Hand wash it with cold water. If one of the hot glue circles falls off, don’t worry you can easily replace it. Hang to dry, do not use the dryer!

You will instantly feel the benefits of using a yoga towel. It will help to absorb any sweat, dirt and toxins on your mat.

For myself, I was able to find all my materials by searching my house. The only item you may need to purchase is bleach, if you don’t already have it, and extra hot glue gun sticks. These are fairly cheap, and the price is quite mild in comparison to some yoga towels you see on the market today.

Good luck and Namaste!

Have any ideas, tips, or complaints? Drop me a comment below and let others know!


DIY Ganja Yoga

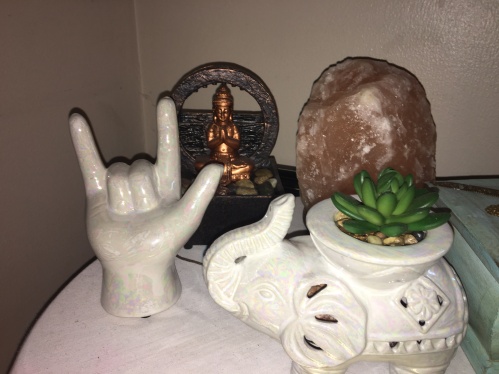
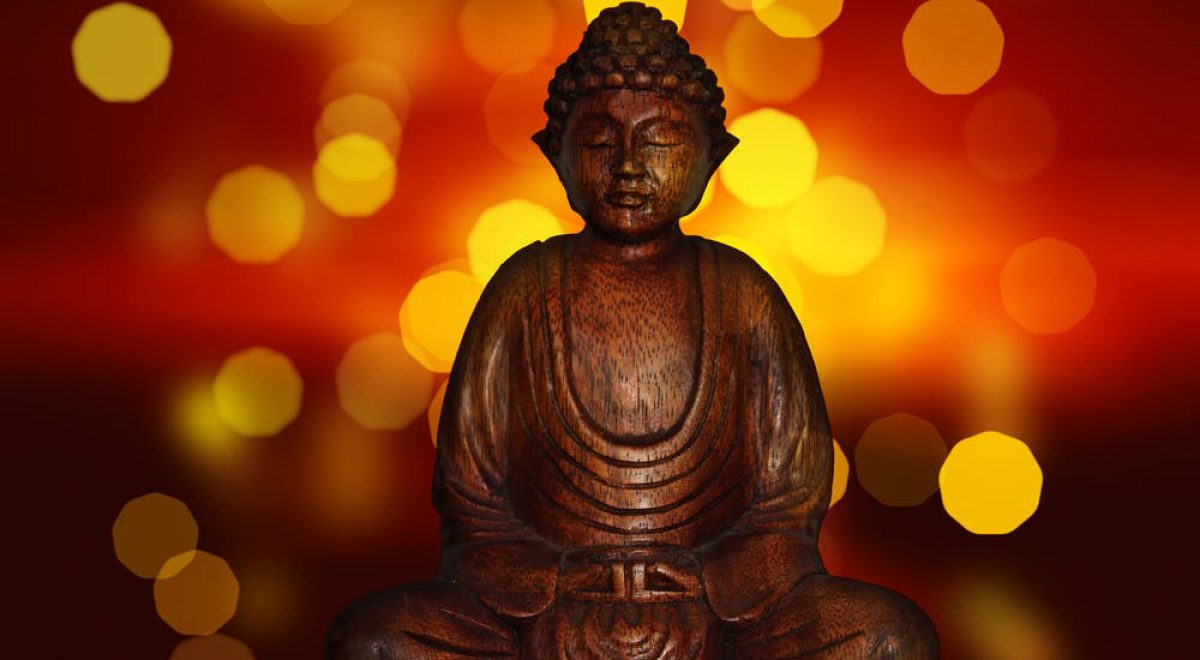
yoga statues relaxation           

Yoga can bring you to new heights spiritually, mentally, socially, and physically. A greater height is said to be reached by many by taking their love of marijuana, and combining it with yoga. In states such as California, where marijuana is legal, Ganja Yoga has emerged, and taken hold as an interesting new yoga trend.

This combination of weed and yoga is done very easily. It is either bring your own weed, or teachers provide marijuana to be smoked in the half hour leading up to the yoga practice.

These spas and studios are only available in places where marijuana has been legalized. Those who are reading from a state where weed is still illegal, do not have the option of going to a Ganja yoga practice. I am going to show you how you can have a weed and yoga session from the comfort of your own home.

Tips for Ganja Yoga:

Choose an appropriate strain. When you purchase weed, try to go for anything Indica. These strains provide relaxation and also aid in helping your muscles.

Choose the proper method of consumption. If you tend to be a lightweight, do not use stronger methods of consumption such as edibles or dabs. You still want to be able to move around freely and comprehend what is going on around you.

Know the risk. Weed is still illegal, and be wary that there can be legal consequences to smoking weed in a state where it has not yet been legalized. *****

Setting up:

  1. Find a relaxing place with minimal sunlight. Smoking will make you sensitive to light, so try having some candles lit or use strong lights to have a dimmed lighting atmosphere.
  2. Pick out an easy yoga video to follow. You do not want to choose a video that has poses that focus on balance or concentration, because you will be slightly off in both those arenas.
  3. Smoke for twenty to thirty minutes. This will provide a high that is not too overwhelming, but is strong enough to have an impact on your practice.
  4. Begin!

Benefits

Combining yoga and marijuana may just seem like a new hipster trend that will be on its way out in a few months. It was actually found that the early history of yoga is linked to cannabis.

Weed becomes essential during the Savasana portion of your yoga practice. According to yoga teachers who use cannabis in their studio, it can help you feel the rotation of the Earth beneath you.  This teacher believes it is best to smoke again before you enter Savasana, but I think that for beginners and those doing it in their home, can make the high last the entire practice with enough focus.

I believe the entire driving force behind yoga is to find relaxation. With the emergence of new materials and tools being integrated into the practice of yoga, adding cannabis is the next logical step in heading down the path of reaching a state of well-being.


**** This post in no way encourages or condones illegally purchasing and consuming weed.

DIY Essential Oil Diffuser

            You may have heard about people incorporating and using essential oils in their yoga practice. Essential oils can greatly benefit your experience if utilized correctly and efficiently.

            I started using essential oils at a young age with lavender in my bath salts and on my pillow at night to promote a lasting and relaxful sleep. I have just began to use it with yoga to maximize the potential of my in home studio.

            Essential oils offer a natural fix to many health ailments such as migraines, nausea, anxiety, and so much more! When used with yoga, essential oils help open up your mind, body, and spirit.

            Essential oils do not just automatically fill a room with aroma. In order for the oils to spread through the air, a diffuser needs to be purchased or crafted. Luckily, I can show you a cheap and easy way to make a homemade essential oil diffuser for your yoga practice.

Materials:

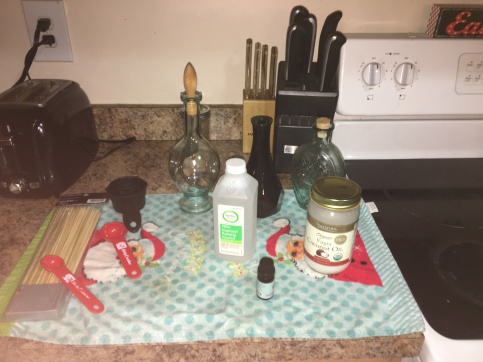
IMG-6679.JPG

  • Three (or less, or more!) jars
  • Rubbing alcohol
  • Oil (coconut or almond)
  • Essential oils
  • Water
  • Kabob Skewers
  • Tablespoon measurement
  • Liquid measuring cup

Instructions:

1.    Clean three jars.

Choose jars that look good with your décor. Check local thrift stores, recycling centers, or your basement for funky and vintage jars and glasses.  

2.    Add two tablespoons of rubbing alcohol to each.

3.    Add one cup of water to each.

Stir in with rubbing alcohol. It should be about halfway filled. If you need to add more water, do so.

4.    Add one tablespoon of oil to each.

It may just float to the top and that is okay! Just nudge it around a bit and stir it around.

5.    Add one tablespoon of essential oils to each.

You’re more than welcome to mix flavors or stick to just one! Add as much or as little as you want.

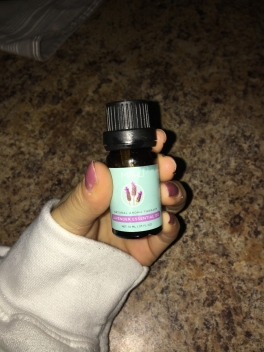
essential oil
Here’s a lavender one that I used!

6.    Mix for at least two minutes.

7.    Put three to four skewers in each jar.

Twist them a few times. Let the water settle.

8.    Wait overnight.

The oils will soak into the skewers to be diffused into the air.

9.    Flip the skewers.

You may want to do this every day for a fresh, powerful scent.

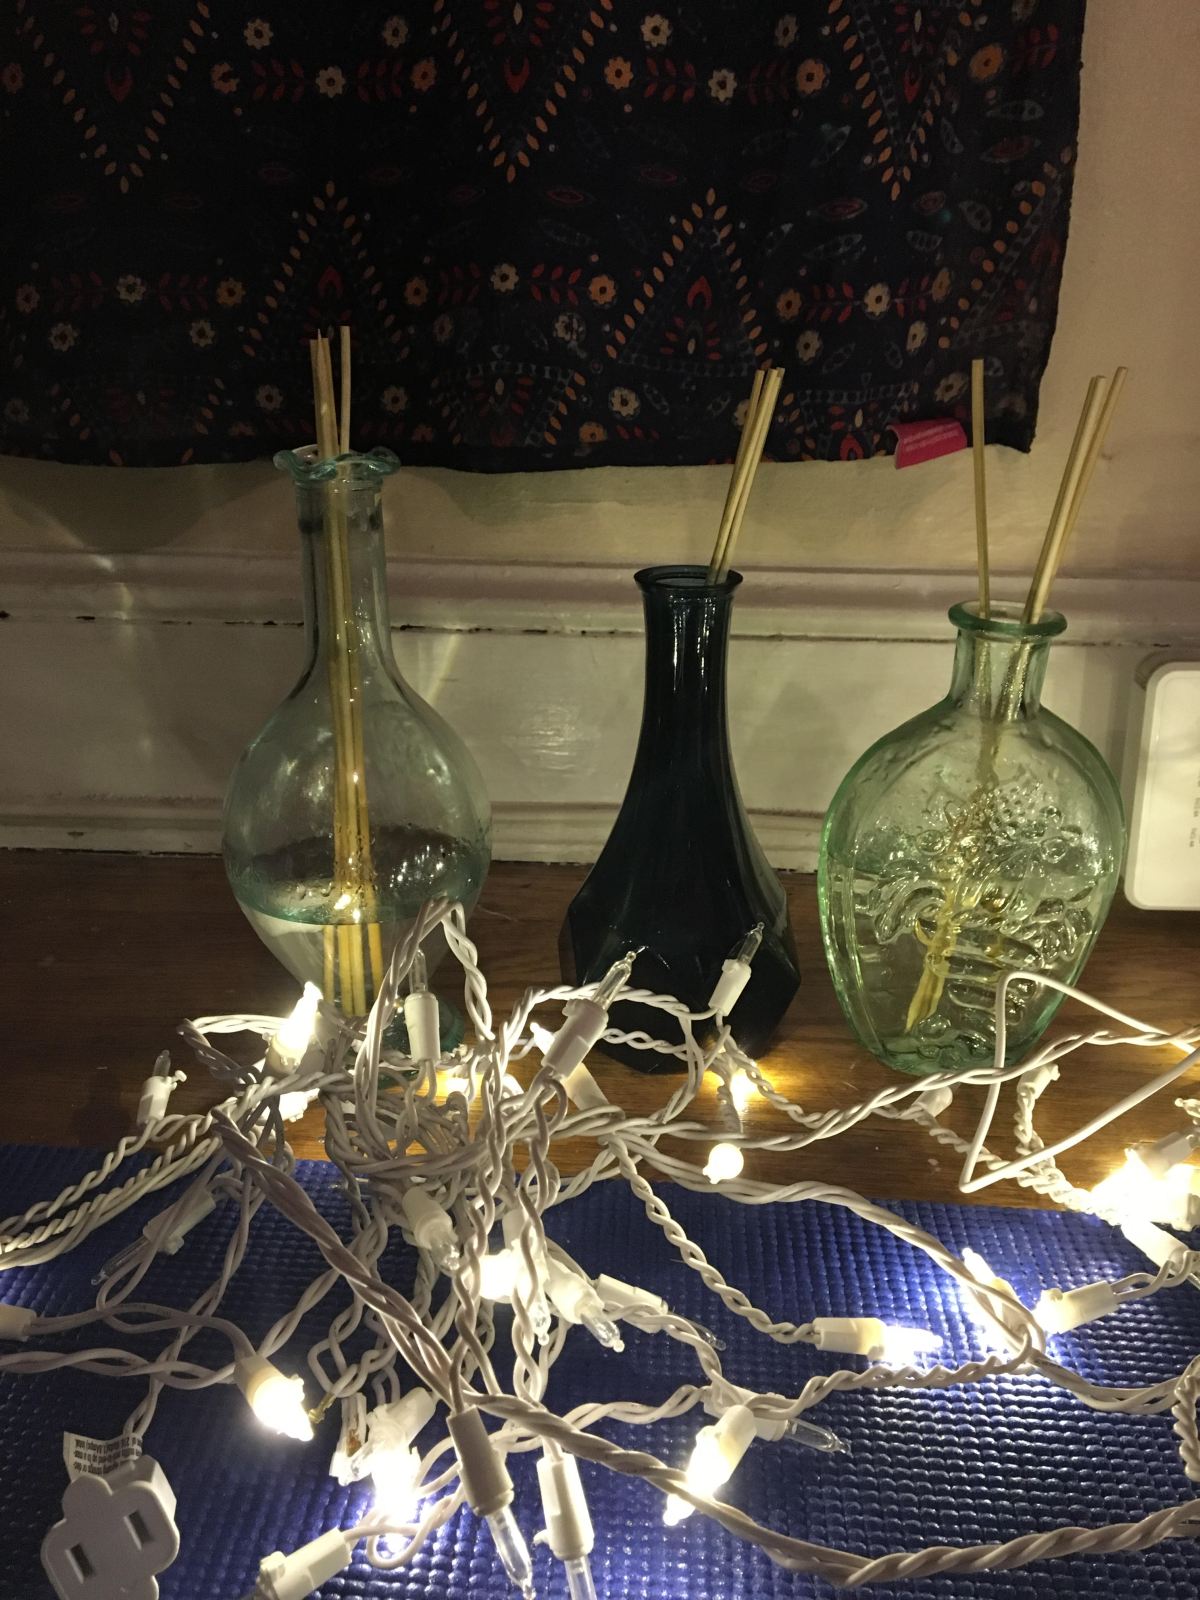
IMG-6701
My three jars!

            I chose to put my three diffusers at the top of my yoga mat. That way I can smell them while doing yoga and it looks good too! It beats spending up to forty dollars on fancy, new diffusers that do basically the same thing.

            If you are creating a diffuser specifically for yoga purposes there are a few scents that I recommend:

  • Lavender: It promotes sleep, relaxation, and also relieves headaches and anxiety.
  • Peppermint: It boosts your energy and helps out with any tight muscles you may have.
  • Frankincense: This oil helps in boosting your immune system and balancing your hormone levels.
  • Sandalwood: This helps in boosting your memory and prevents muscle and nerve spasms.

            Hopefully now you are at least starting your journey towards essential oil paradise. Don’t get sucked in too hard and remember to always read any labels and warnings on stuff you purchase. Have fun and happy diffusing!


DIY Hot Yoga Studio at Home

           While many people swear by hot yoga’s healing properties, a recent report calls them into question. This report observed that the poses increase vascular health, but not the change in temperature. It also concluded that adding heat to your yoga practice can change your body composition.

            But I have been doing yoga for over five years, and I truly believe that hot yoga makes me more relaxed. Something about a warm room melts my stress away and it gives me a sense of calm. Maybe after trying it you may feel the same way, so I would not 100 percent dismiss the practice just based on this one study.

           You may have read online about hot yoga and gotten a little intimidated. Fear not! I am going to show you several ways that you can make your at-home yoga studio (or yoga corner, or just your bedroom with a yoga mat) into a hot yoga studio without breaking the bank.

           Hot yoga rooms are very humid. Humidifiers can cost upwards of $100 if you want a larger and nicer one. Fortunately there are many cheap and easy ways you can increase the humidity in your room.

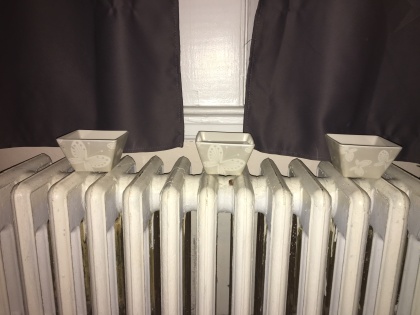
  • Does your room have heater vents on the floor, or radiators? Crank up the heat and place some water in ceramic bowls on top of the heaters and the water will create steam and be released into the air.
DIY Humidifier
These are three smaller bowls I balanced on the radiator in my room.
  • Go out and purchase either plant seeds or smaller plants such as succulents or aloe Vera plants. These are fairly cheap and also help aid in releasing moisture into the air. Don’t forget to water your plants frequently.
  • Another tip for humidifying your room is to have a clothing rack where you allow your laundry to air dry in the room. Make sure to keep windows and doors shut so you don’t lose any of that humidity.  

           Having a very hot room is key to your hot yoga practice. There are several ways to warm up your room. Purchase a small space heater and turn it up to high. This way you don’t have to pay to heat your entire house, just one room.

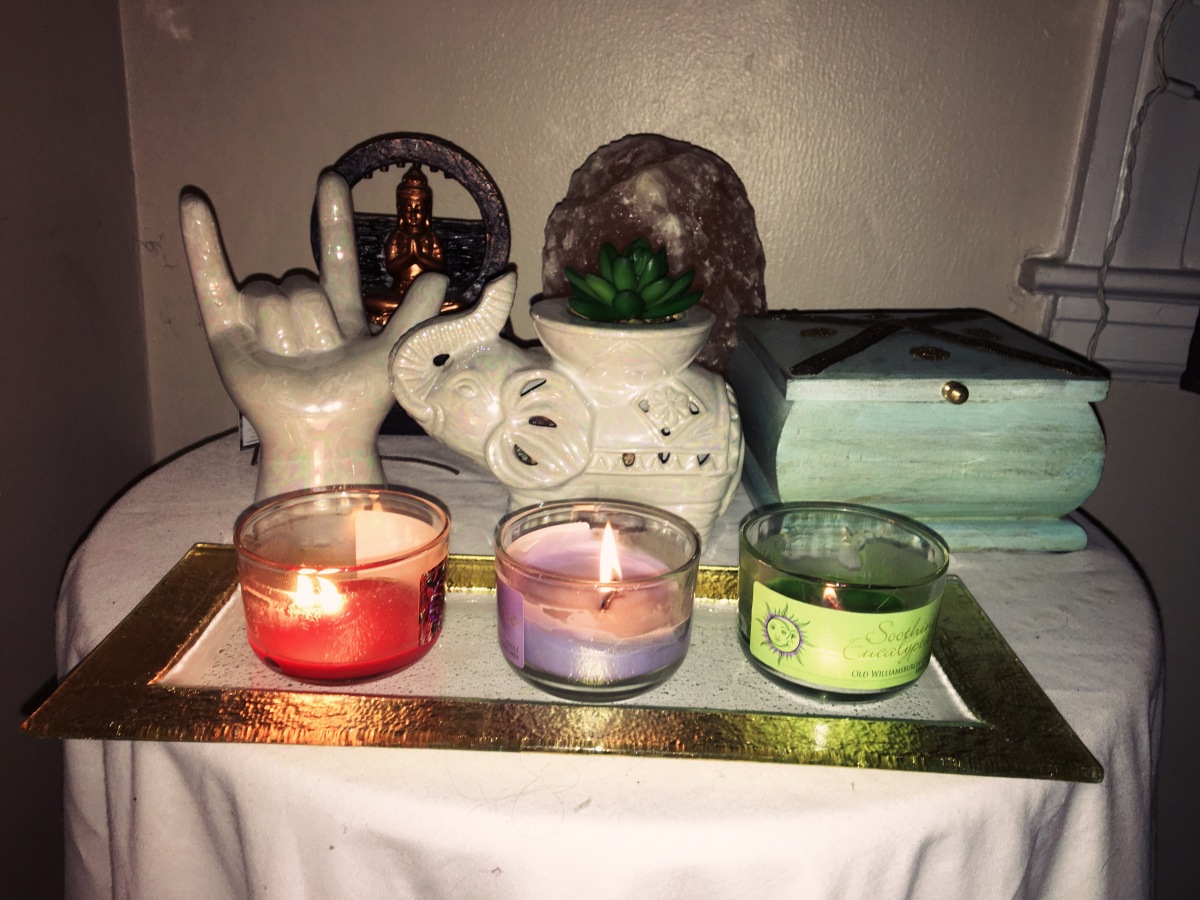
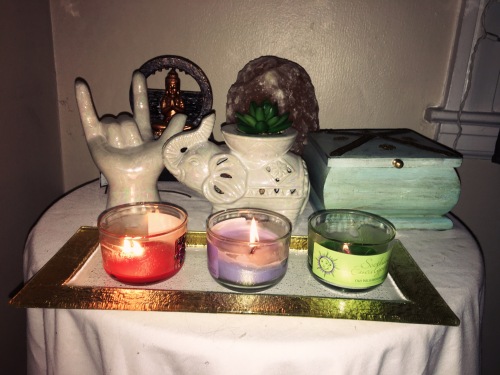
  • Also look into purchasing some candles. Any dollar store will sell candles and buy as many as you think you need. Candles add heat to the room and add light that isn’t too bright.


DIY Hot Yoga
Three candles I got for only a dollar each!
  •  Put your celling fan on reverse. Doing this pushes the hot air closer to the ground and heats up your room. This way your room will be hot, but not too stiff and dry.
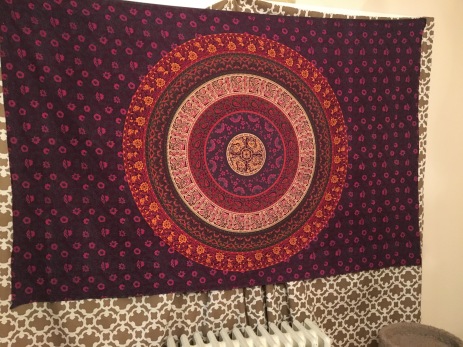
  • Hang a tapestry or long curtains over your windows to keep out the draft. It really makes a difference for me since the windows in my house are so thin!
DIY Hot yoga
Even though they are super thin, tapestry’s work really well in keeping the warm air trapped in your room.

            If you do all of these tips, you most likely will be too hot to wear multiple layers. If you can keep on long sleeves and pants try, but it’s not mandatory.

            Hopefully you will be able to see the small benefits that hot yoga can have on your life. If you are interested in getting involved in a yoga practice you can easily do from your home, this may be for you.

            Just because one study shows that it does not have any substantial health benefits does not mean that you should not try it. Learning new ways to incorporate yoga into your daily life can benefit your physical, emotional, and social wellness.

Have you tried hot yoga in your home? Let me know in the comments how it worked out!